Customise the active toolbar
The active toolbar provides you with shortcuts to different
items and settings before capturing an image or recording a
video clip. The capture and recording settings return to the
default settings after you close the camera.
Select
Menu
>
Applications
>
Camera
.
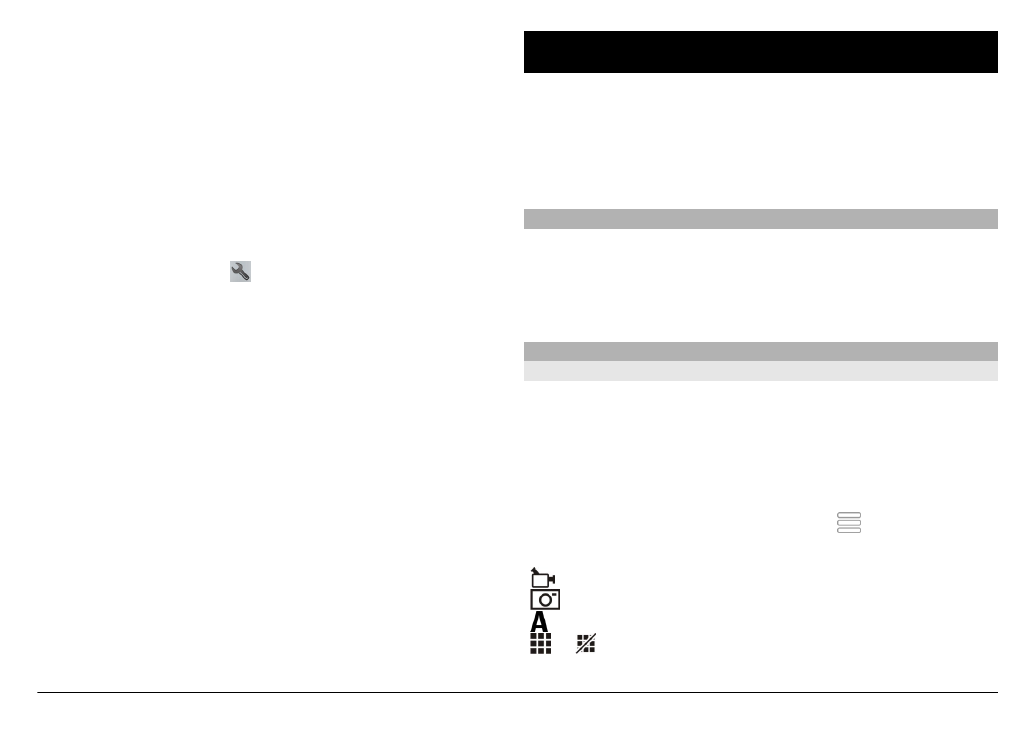
To add or remove a toolbar item, select >
Customise
toolbar
and from the following:
or
—
Switch between video and image mode.
—
Select the scene.
or — Show or hide the viewfinder grid (images only).
© 2009 Nokia. All rights reserved.
92

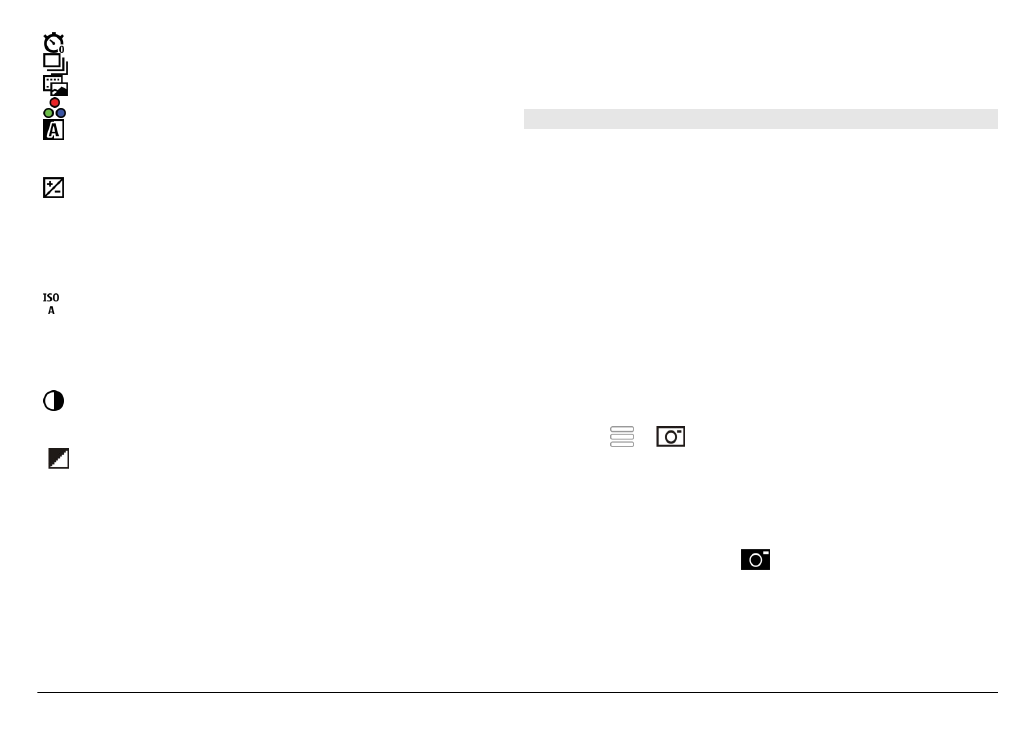
—
Activate the self-timer (images only).
—
Activate sequence mode (images only).
—
Open
Photos
.
—
Select a colour effect.
—
Adjust the white balance. Select the current
lighting conditions. This allows the camera to
reproduce colours more accurately.
—
Adjust the exposure compensation (images
only). If you are shooting a dark subject against
a very light background, such as snow, adjust the
exposure to +1 or +2 to compensate for the
background brightness. For light subjects
against a dark background, use -1 or -2.
—
Adjust light sensitivity (images only). Increase
the light sensitivity in low light conditions to
avoid too dark images and blurry images.
Increasing the light sensitivity may also increase
the image noise.
—
Adjust contrast (images only). Adjust the
difference between the lightest and darkest
parts of the image.
—
Adjust sharpness (images only).
The screen display changes to match the settings you define.
Saving the captured image may take longer if you change the
zoom, lighting, or colour settings.
The capture settings are shooting-mode specific. Switching
between the modes does not reset the defined settings.
If you select a new scene, the capture settings are replaced
by the selected scene. You can change the capture settings
after selecting a scene if needed.